Books for Children


50 best lift-the-flap and pop-up books for children

Find Your Drive: Challenge yourself with Billy Monger
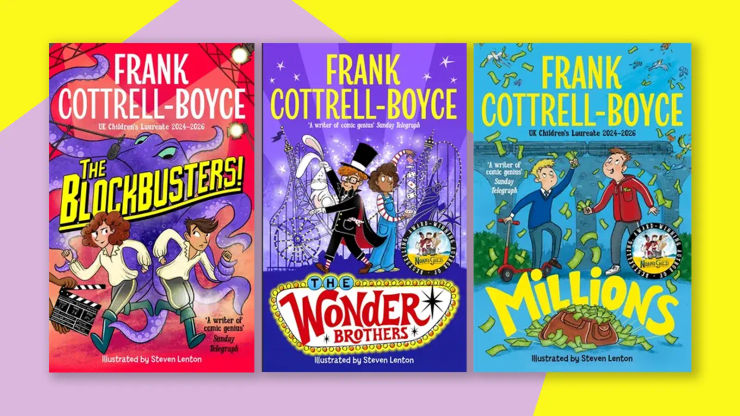
Frank Cottrell-Boyce's books: a complete guide
A guide to Camilla Reid's books

The best football books for kids

40 brilliant audiobooks for kids of all ages

The best children's books of 2026

Books for babies & toddlers

Marcus Rashford's books: a complete guide

There's An Owl In My Towel Sing-a-long Song for toddlers

Singalong with Julia Donaldson's 'It's a Little Baby'
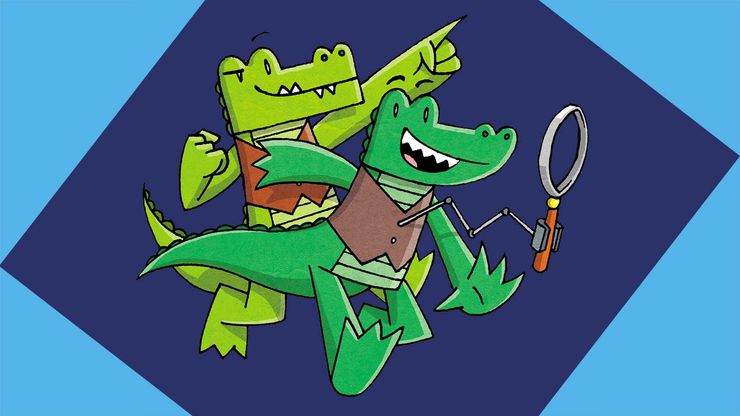
The InvestiGators books in order